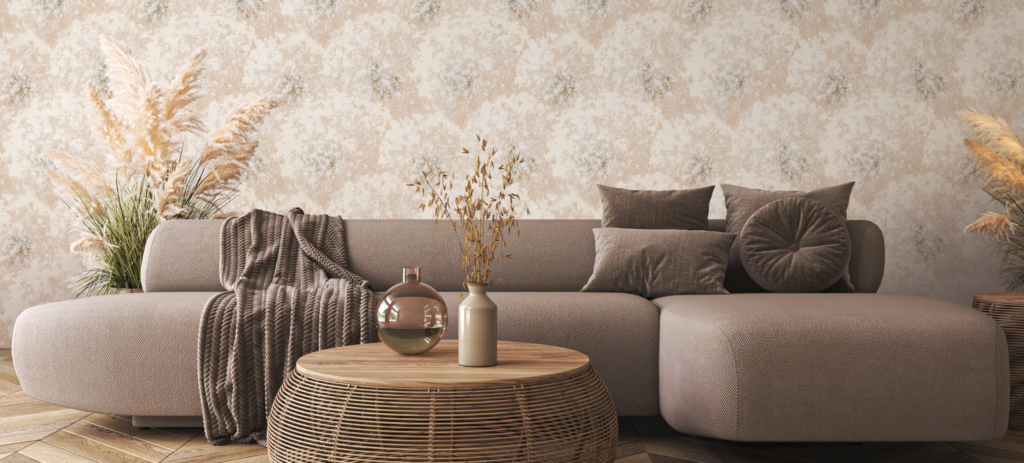
Knowledge of the process of pasting surfaces ensures success when working with wallpaper. The theory, supported by practice, allows you to make fast and high-quality wallpapering. As a rule, this process is not difficult for trained people.
Here are some tips that will help you when decorating the walls in the rooms on your own.
How to glue wallpaper
Properly organized work requires successive overcoming of several stages:
1. All repair activities must be preceded by the preparation of the working surface. It consists in cleaning from old coatings: paper, paints, whitewash, dust, etc. Many people don't care if new sheets can be placed on top of old ones and make the mistake of putting fresh sheets on top of previous ones.
2. After cleaning the surface, you should proceed to leveling it and filling cracks. The use of a primer for this purpose is impractical, as it makes it difficult for the adhesive to absorb.
3. Next, the height of the wall is measured and the wallpaper is cut off with a margin of about 5 cm. The presence of a pattern when gluing, for example, children's wallpaper, involves selecting a picture. The absence of a drawing makes the task much easier.
4. Sticking sheets starts from the window. Carefully smeared canvases along a plumb line are superimposed on the wall. The adhesive must match the type of material. It depends on him whether to impregnate the wall with glue or not.
5. Heavy coatings are glued end-to-end, light paper ones are overlapped.
6. The secret of how to glue wallpaper in the corners (external and internal) is to transfer the joints of the paintings from the corners to the wall.
7. Air bubbles are forced out by the rubber roller. This is how the sheets are smoothed along the walls and the joints between them are rolled.
8. The protruding fragments of the canvas are cut off before the final drying of the glue.
Wallpaper sticker on the ceiling
Today, pasting the ceiling with wallpaper is not a frequent phenomenon, but practiced. If tension structures are more often used to decorate living rooms and halls, then it is easier to paste over ceilings in domestic premises.
Our kitchens, as a rule, do not have a large area. Therefore the ceiling sticker wallpaper for the kitchen will not become too laborious and lengthy process.
The sequence of actions when pasting ceilings is as follows:
1. We prepare the ceiling for wallpaper. Preparation consists in leveling it with an acrylic primer.
2. We outline the control line.
3. Coat the cuts with glue, fold them in waves with a wave depth of 30 cm.
4. We hold the "accordions" in one hand, smooth out the jams from the middle of the canvas to the edge with a roller in the other hand.
5. We paste the canvases with the orientation of each subsequent one to the previous one. The direction of the first sheet must match the markup.
6. We make a neat docking with the wall, cut the canvas evenly.
After that, it remains only to temporarily protect the room from the penetration of drafts and soon rejoice at the end of the repair.


